Easy
Process:
My son was sitting out on the deck on one of our patio chairs and unbeknownst to him I was watching him eat when all of a sudden the chair popped and he just about fell on the ground. It was so funny and the first thought that went through his head was "Crap, I'm gonna get in trouble for that!".
Much to his relief, I said it was fine because he didn't actually do anything at all to cause it. Upon further inspection I noticed that over the years of using those chairs (and man, kids are hard on furniture) the bolt stripped the aluminum thread in the thin chair legs.
Heli-coils to the rescue! It was just a few months ago that the heli-coil sets went on sale at Princess Auto and although I've never had a use for them I figured if I spend the $20/set (one metric, one imperial) I'd have them in case I ever needed them.
The process was actually quite simple. I took the other 3 bolts out of the chair, drilled the stripped thread hole to one size larger. Then I tapped it to size (I think it was an 1/4" by 20TPI on the outside and a 3/16" by 24 on the inside), screwed the heli-coil into the freshly tapped hole and put the bolts back into the now fixed hole.
Pictures:
 |
| The broken patio chair |
 |
| Close-up of the stripped thread |
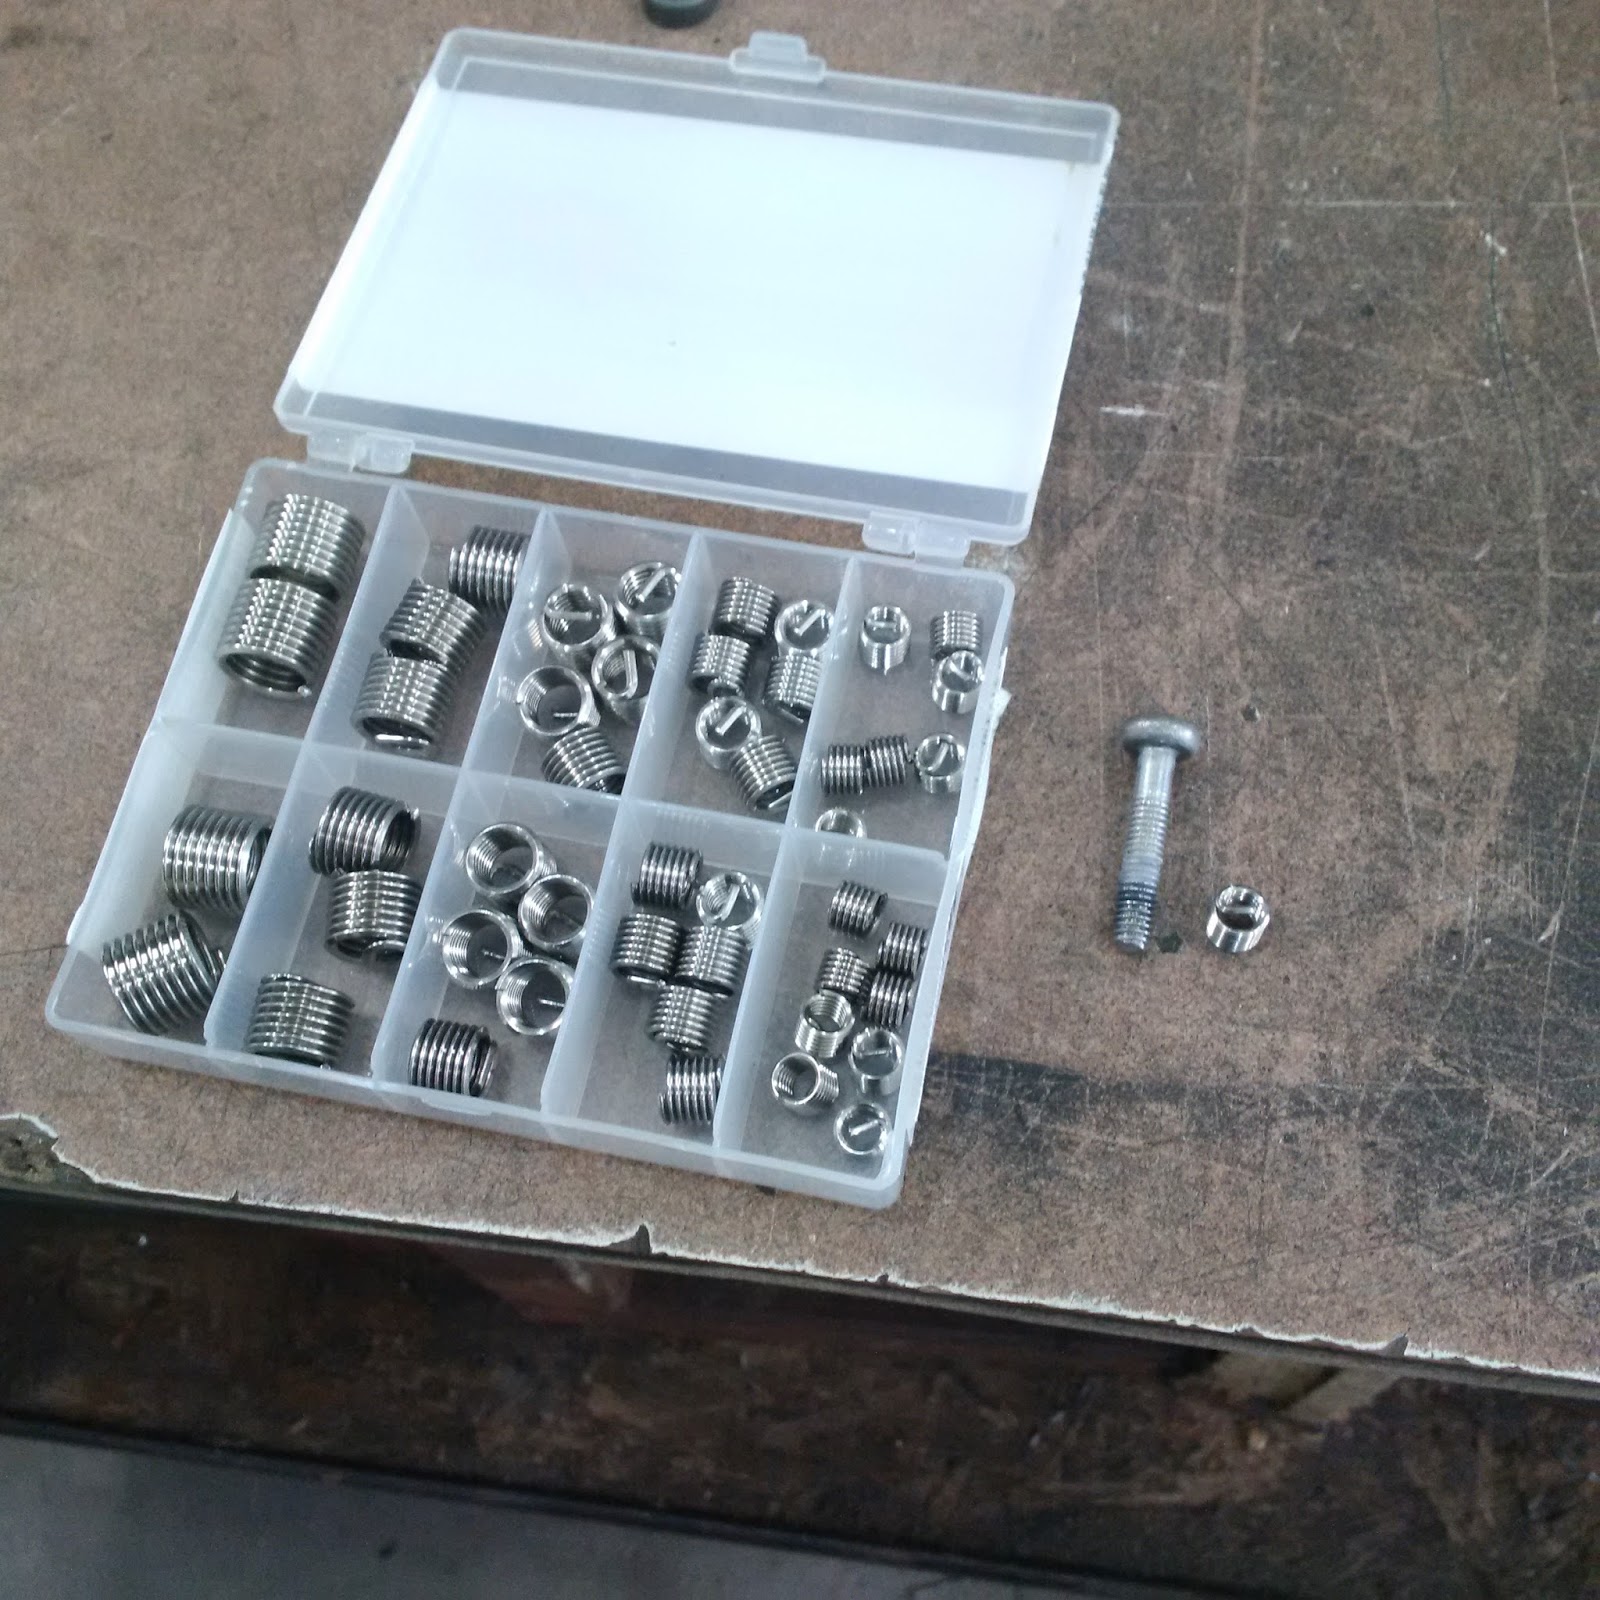 |
| The heli-coil set with the proper size selected |
 |
| Drilling out the hole |
 |
| Tapping it to the proper size |
 |
| Screwing the heli-coil into the freshly tapped hole |
 |
| Getting ready to put the chair back together |
 |
| Testing the finished chair |
 |
| All done |
Drill
Tap & die set
Screwdriver
Alan key
Digital Calipers
Materials:
1 heli-coil
Cost:
$0.00
Time:
30 min
Savings:
$50.00
Conclusion:
It works great and if another one bites the dust I'll know what to do!

0 comments:
Post a Comment