Build a garbage can for the kitchen on wheels that doesn't look like a garbage at first sight, is large enough so it doesn't have to be emptied all the time and when it does, it should be easy to do
Process:
Melanie and I have both been annoyed at how quickly the garbage can under the kitchen has been filling up so quickly and of course, emptying the trash is nobody's favorite thing to do so it usually doesn't get done until it's overflowing. By that time, it's an even bigger pain in the butt to do so one of the first "projects" on parental leave was to remedy that situation.
Although it took about 3 weeks to accomplish (amidst the feeding, diapers and trying to get Ellie to sleep) I finally finished it up.
I took my inspiration for the design from the inukshuk; I think it's really beautiful. I tried to find a picture online that I could turn into something resembling a garbage can but could only get part-way there. I have to admit, the final product doesn't screem "inukshuk" but at least for me I know the design's origin.
Once I figured out the measurement it was pretty simple to put together. I used 5/8" MDF, sanded and painted it, then put a clear coat of hardwood floor sealer on it to make it more durable. The most time however, was spent on the garbage bag holding mechanism. I wanted it to be something very simple to use so I wouldn't be the only one ever changing the garbage bag which I knew would be the case if changing it would involve more than two or three steps.
Instead of trying to explain it all in words I'll do brief captions on the pictures below
Videos:
Pictures:
 |
| The picture that inspired me |
 |
| After the rough MDF construction and first coat of crack-filling |
 |
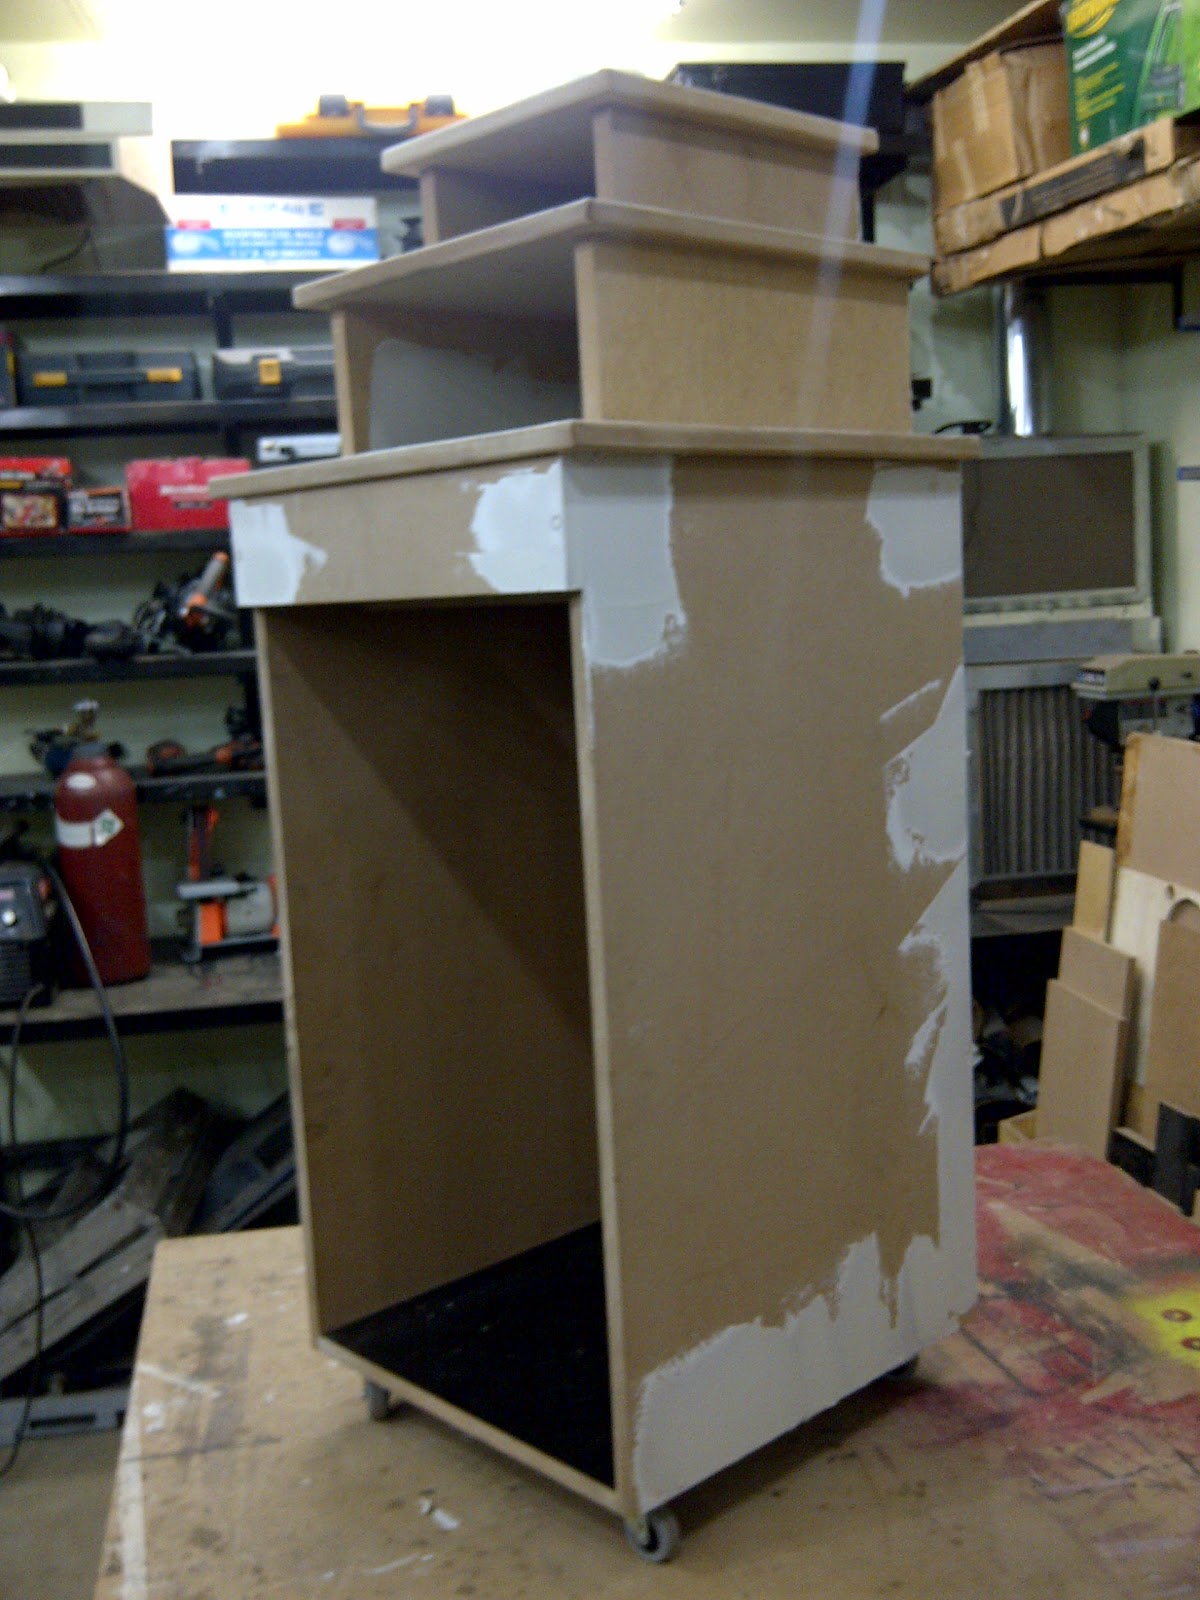
| Sanded and ready to paint |
 |
| Finished primer |
 |
| Painting the metal pieces for the garbage holder mechanism |
 |
| More metal for the mechanism |
 |
| The finished garbage can with a little drawer for my wallet, glasses, bb and keys |
 |
| When the garbage is full |
 |
| Step 1: lift up the top locking mechanism and hook it onto the little hook I made. Step 2: pull it out to the first notch and remove the full garbage bag |
 |
| Step 3: Pull it out to the second notch, replace the garbage bag, push it back in and lock it in place |
 |
| Metal rod on the left with the two notches |
Table saw, welder, oxy/acetylene torch, hammer, drill, wrenches, grinder, paint gun
Materials:
5/8" MDF, caster wheels, 6 feet of 3/8"x3/8" solid steel rod, 8 feet of 3/4"x1/8" flat steel bar, paint,
Cost:
$70.00 ($30 for the MDF, $20 for the casters, $10 for the paint)
Time:
All in all about 12hrs
Savings:
About $130, couldn't imagine getting one similar to this for under $200 bucks
Conclusion:
Works great and yes, I'm not the only one emptying the garbage now, whoohoo...


