Process:
We use a little space heater on the fan setting for some background noise while our little girl has her nap and Melanie told me that it stopped working. After some investigation it ended up being just a squeaky motor bearing that started vibrating to the point where the friction was too much so it stopped turning.
All I had to do is take it apart with a screwdriver, put in some oil and put it all back together. One thing that helped me out was a trick I learned way back when when I was going through my Lexmark printer repair certification at work: They said to take a hypodermic needle, fill it with oil and then use the pointy needle to get at hart to reach areas. In this case it worked like a charm and so does our little space heater again now.
Videos:
Pictures:
The fan taken apart
The front side of the fan motor after the fan was removed
After the bearing was oiled and the fan reinstalled
Process:
When my wife was starting to put away our groceries last night she noticed that the freezer seemed to be a lot warmer than usual and some of the thin items had started to thaw. Most items were still very well frozen, but there was definitely something wrong.
We unloaded our freezer and put (almost) all the stuff in our deep freeze but some frozen apple sauce didn't fit so in the tub they went because I wasn't sure how long we'd have to be without the freezer.
Here's the order of dismantling:
1. Food
2. Shelves
3. Ice maker unit
4. Plastic cover
5. Metal cover
6. Fan housing
After I had taken off the metal cover, before I knew what was actually wrong I looked at the cooling coils and they were all pretty iced up. After melting off all the ice with a propane torch (I went very easy on the heat so as to not damage anything or light the freezer on fire) they started icing up again right away so I knew that the actual cooling still worked. After some more trouble shooting I found that the issue was with the fan that circulates the cold air so I had to take off the fan housing as well.
Once the fan housing was off I clearly saw what was wrong: one of the little cables that went to the fan had broken right off with the years of use. Unfortunately, there was no plug on the motor and the motor housing itself was an injection molded piece that could not be taken apart.
Since I had apple sauce thawing and I didn't want it to spoil and I didn't want to bother a neighbor to see if I could "borrow" their freezer I decided I was gonna try to fix the broken off wire.
I hauled out my cut-off saw and cut around the broken wire, then finished with a smaller dremel bit to clear a little more than 1/4" of the buried wire. Once I cleared enough solid metal I soldered the wire back on, used some shrink tubing around the wire, masked the area with some tape and filled it in with 2-component (dollar store) epoxy glue.
After putting the fan back in the housing and the housing back in the freezer, I followed the steps above in reverse and put our frozen food back in.
After calling a local repair shop they advised me that it would take 6-8 weeks to get the part and the part alone would cost over $70! Glad I was able to fix it for FREE!!!
Videos:
Pictures:
All the freezer parts on the countertop
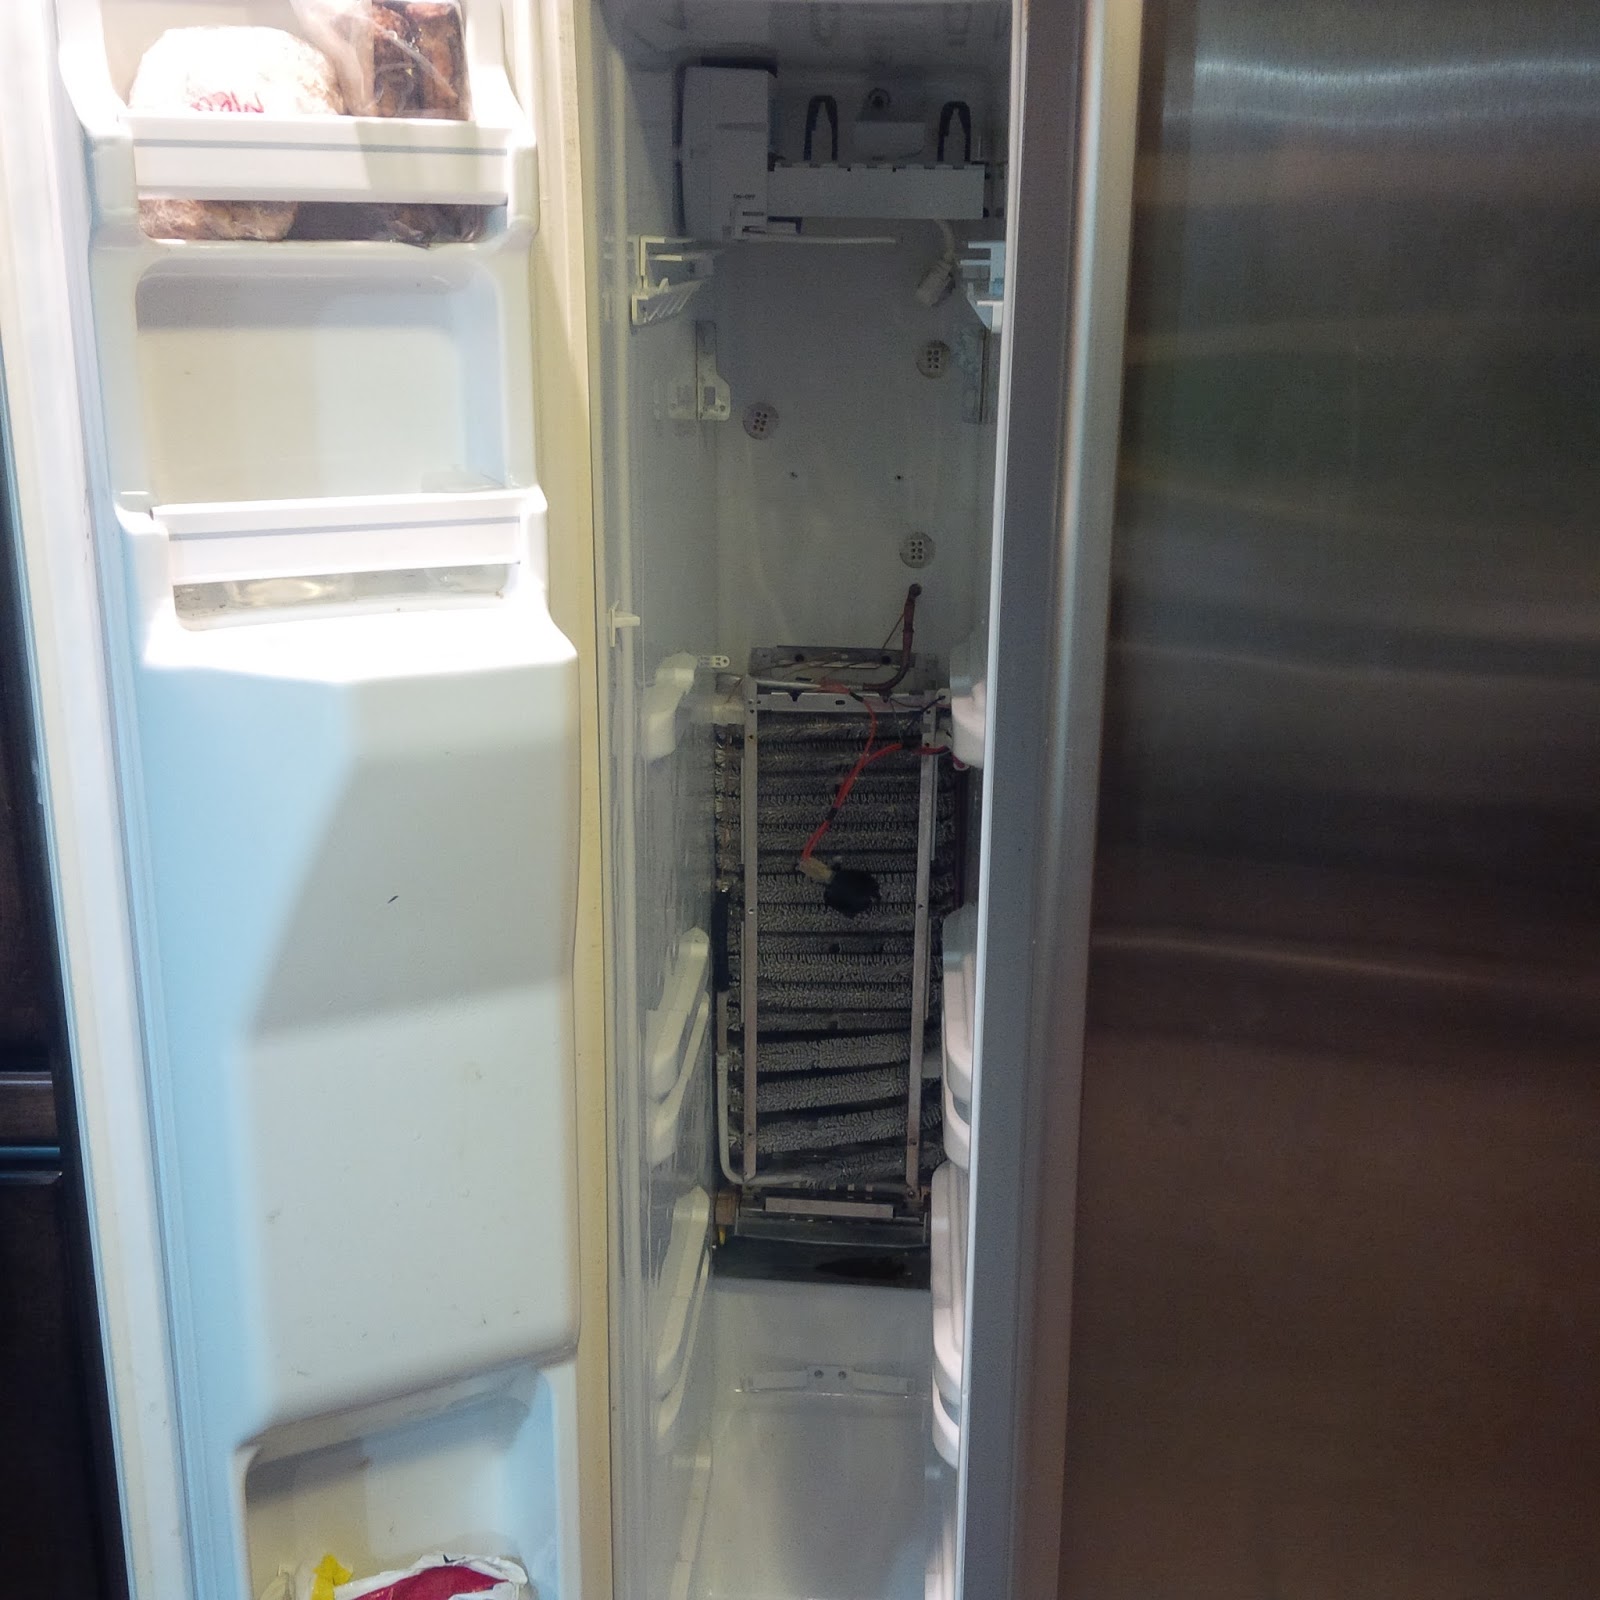
The inside of the freezer behind all the panels
The fan unit
The broken off wire
Grinding off the plastic around the broken off wire
Grinding fine details with dremel
Enough of the wire exposed to start soldering
Close-up of the two wires that need to be soldered
Shrink tube kit from princess auto
After the wires were soldered
After the shrink tubing was fixed
The fan, fan motor and motor housing
Masking off the area with some scotch tape
After the cavity was filled with 2-component epoxy glue and the scotch tape was removed
The fan installed back in the housing
Another shot of the installed fan
After all the panels were installed again
After the ice maker unit was installed again
Ready for the food
Tools:
Drill
Socket set
Dremel
Air cut-off saw
Soldering iron
Knife
Process:
I finally decided to sell my Gingery Lathe
and the guy that ended up buying it had some metal bushings to turn
down for his tractor so he asked me if I could do it for him on my Emco
Maximat V10 metal lathe.
He wanted the outside turned down about 60thou so I figured that shouldn't be a problem.
At
first I attempted to put an arbor in my chuck and turn down a 60 degree
cap on the other end so I could put some pressure on it with my live center, but the friction
between the arbor and the bushing wasn't enough and it started slipping.
Luckily,
the bushings had a hole drilled in them so I drilled and tapped a hole
into my arbor, inserted a set screw to protrude just enough to catch the
hole in the bushing and then turning them down 60 thou was a breeze.
Videos:
Pictures:
Turning the end cap with a 60 degree bevel and center drilled for the live center
Close-up of the bushing installed
Starting to turn down the bushing but it ended up slipping
After the set screw was drilled, tapped and installed to lock the bushing
Another view of the bushing installed and locked onto the arbor
The bushing on the arbor with the end cap to center the work
A view of the turned down bushing
Tools:
Metal lathe & accessories
Drill
Tap & die set
Materials:
6" of 1.25 cold rolled steel
1/4-16 set screw