Pouring a 24x40 pad of concrete and erecting the walls for my brother in law
Difficulty Level (Easy, Medium, Hard, Insane):
Easy
Process:
When I showed up in Upper Sackville (NS) on one of the weekends this May, all the hard work (forms, substrate, wire mesh) was already done which is a good thing because the cement truck ended up showing up just about half an hour later.
Since I have poured several concrete pads before (one for my concrete driveway and one for my shop) I was pretty confident that we could do this one as well without too much trouble. The garage is 24 feet wide and 40 feet long so we decided to split the pad length-wise into two 12ft x 40ft pads, do one on Thursday night and the other one on Friday morning.
The process was pretty straight forward: we had the concrete truck (with 10 cubic yards of concrete) pull into one half of the pad and slowly drive forward as we swung the concrete chute back and forth. Using shovels and a garden rake we distributed the concrete, used a home-made screed (made with some 2x4's) to level it out more accurately and then used a bull float to make it nice and smooth.
After it was all said and done we had to wait for the concrete to cure enough so we could go on the pad with a rented power trowel. For the next 4 hours we checked about every 20-30 minutes and once our feet left about an 1/8" imprint in the concrete we started power troweling.
It takes a bit of practice on how to do it but basically, you lift up on the handle for the trowel to move right, push down to make it go to the left, twist it clockwise to make it go forward and counter-clockwise to make it go backwards.
After the first pass it still looked pretty rough but that is quite normal. We waited another 30 minutes and did the second pass, waited for 30 minutes and the thirt pass. I think all-in-all we did about 4-5 passes and the final surface was pretty darn smooth if I may say so myself; I'd be pleased to have a garage with a floor like that.
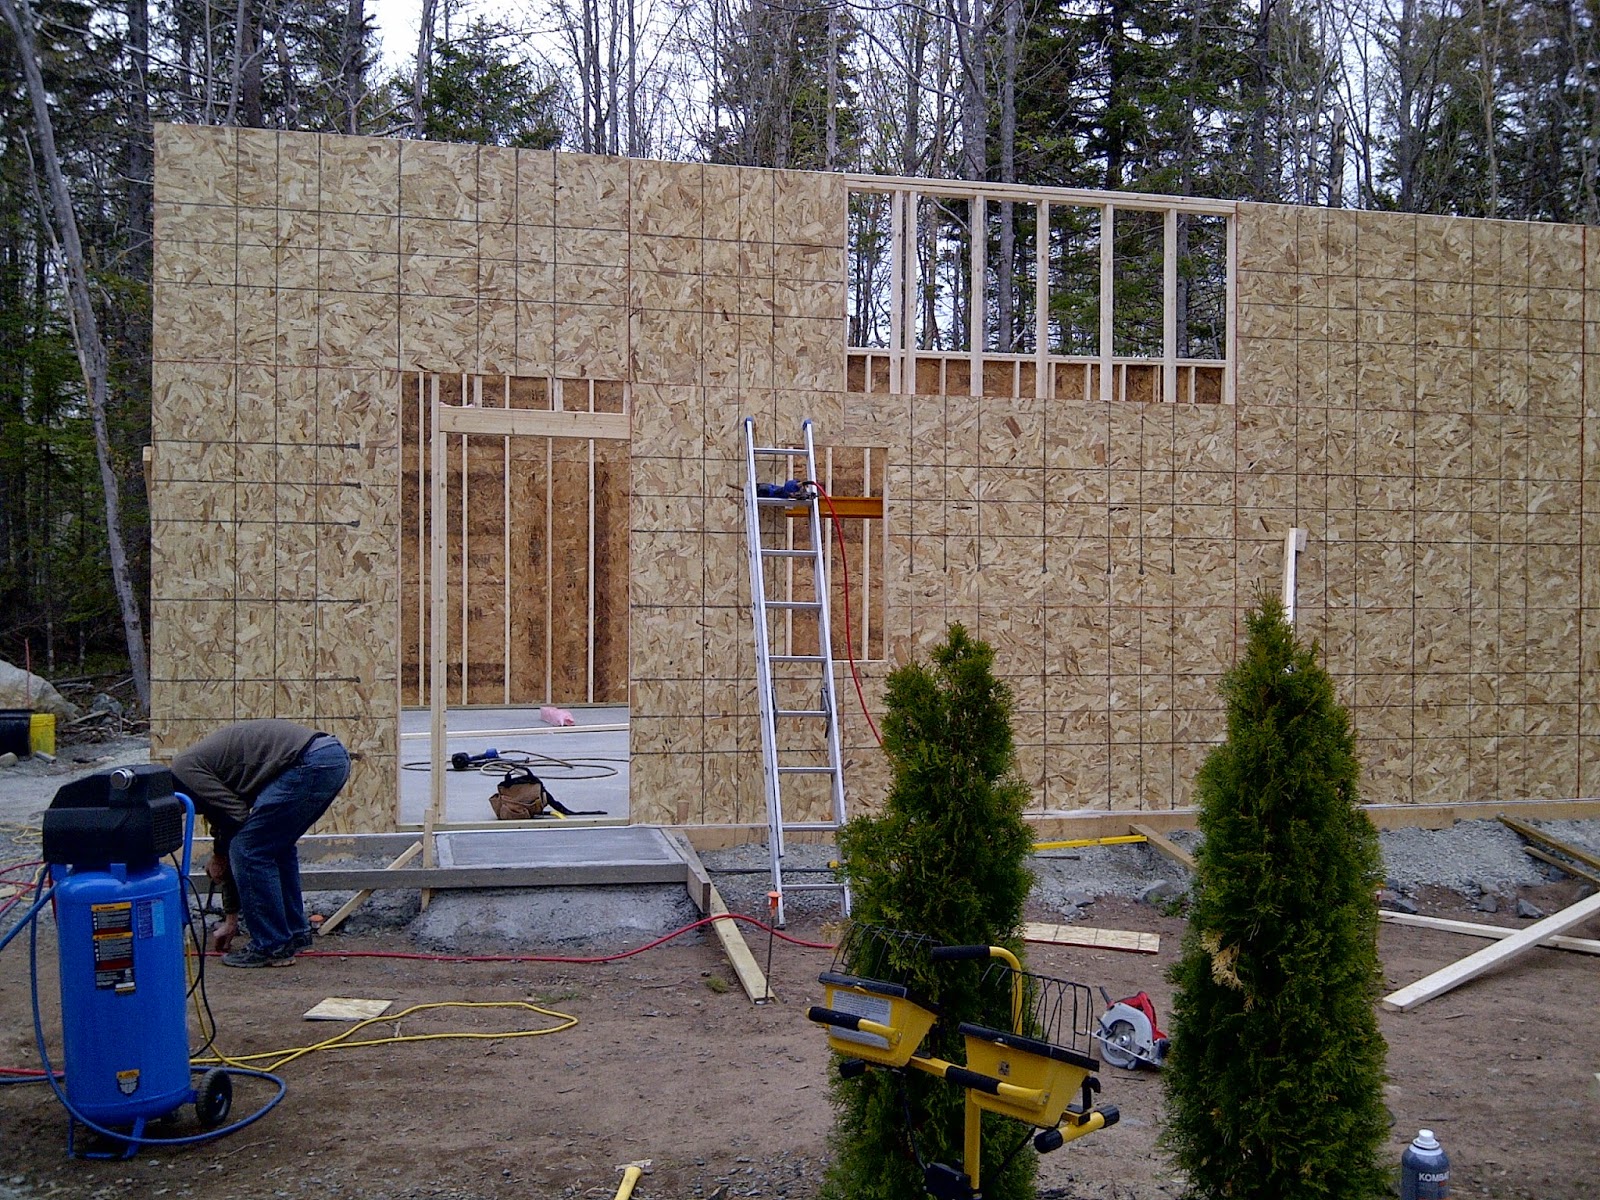
Once we finished the second half of the pad on Friday morning we did the power trowling again and then on Friday night we were able to start on framing the walls. It was a bit tricky to do because Shawn decided to make his shop walls 12 feet high. Also, because the long wall is 40 feet long we had to do some creative bracing to hold the walls up.
The concrete work took about 14 hours (including all the waiting for the concrete to cure) and having my two brothers in law (Shawn and Jon) there was absolutely essential; even with two people instead of three this job would have been almost impossible. After about 35 hours of actual labor (including the concrete work) I left to go back home to NB on Sunday morning absolutely destroyed physically. When I got home around lunch time I crawled into bed and literally slept for the next three days.
I keep forgetting that I'm almost 40 now and have to say that I can definitely feel not being as agile as I was in my twenties. But somehow my brain forgets that fact once I start getting into the "zone" but unfortunately get brutally reminded when everything is over.
I do have to make a note of reminding myself to slow down, WAY DOWN, next time I'm doing a project like that!
Videos:
Pictures:
 |
| The forms and base completed |
 |
| The plastic and wire mesh installed |
 |
| We were short of concrete after the truck left so we had to mix up 3 more bags |
 |
| Power trowling the concrete |
 |
| Shawn being silly (and relieved that half of the pad was pretty much done already) |
 |
| After the second half was covered with plastic and wire mesh. The black circles are 2" pieces of drainage tile cut up to lift the wire mesh off the ground |
 |
| One half down, one to go |
 |
| View from the back with the concrete anchors installed |
 |
| The weight of the concrete actually pushed the form out a bit |
 |
| Shawn enjoying a stogi |
 |
| Me enjoying my once-every-three-years stogi |
 |
| Here's how high the walls were going to be |
 |
| Placing the concrete in the second half of the pad |
 |
| Men at work |
 |
| Shawn using the bull float to smoothen out the concrete |
 |
| The second batch left us with about one cubic yard left over concrete which we used to fill in a low spot in front of the garage |
 |
| The concrete all placed, in the process of smoothen out the edges |
 |
| Another view |
 |
| Since we had left over concrete we decided to pour a little entrance pad where the side door is going to go |
 |
| Demonstrating the screed we used to level out the concrete. It actually worked really well. |
 |
| Taking a close-up shot of the smooth concrete |
 |
| Forever edged in concrete |
 |
| Another view |
 |
| The brush finish on the side door pad |
 |
| A view from the back |
 |
| The lumber showed up the next morning |
 |
| One corner done. These walls are so high! |
 |
| The side wall almost done |
 |
| ...and Shawn saw that it was good... |
 |
| One side (40 feet long) done |
 |
| The back done |
 |
| Starting on the second side |
 |
| Plugging away |
 |
| The second long wall almost done |
 |
| View from the front |
 |
| After the roof trusses installed |
 |
| Another view |
Tools:
Hammer drill
Measuring tape
Shovel
Garden rake
Home Made Vibrator
Bull float (rented)
Power trowel (rented)
Gloves
Hammer
Sledge hammer
Square
Rubber boots
Tool belt
Pencil
Chalk line
Cordless drill
Concrete drill bit
Auger drill bit
Compressor
Framing nail gun
Circular saw
Chop saw
Flood lights
Scaffolding
Crow bar
Wrenches
Angle grinder
Ladders
Level
Reciprocating saw
Materials:
20 cubic yards concrete
About 130 2x4's (12ft)
About 30 2x4's (10ft)
4 2x8 (10ft)
About 50 sheets of OSB
Cost:
$0.00 (for me, not sure how much it cost my brother in law)
Time:
35hr
Savings:
About $7,000.00
Conclusion:
So glad it's over. I haven't been this sore in over a DECADE!!!

0 comments:
Post a Comment