Medium
Process:
I've been wanting to get a DRO for my metal lathe for almost a year because it makes finding and re-finding certain positions a lot easier but even the cheapest ones are almost $500 bucks so I made a secret deal with my wife and was fortunate enough to be able to satisfy my wife's requirements of the deal and ordered a DRO on ebay.
The discussions online all vary between getting a cheap-o chinese glass scale DRO or an easy to cut and smaller magnetic scale or to fork out a grand or two and get a really high quality DRO. Considering all my option, I decided to go with the cheap-o chinese glass scales because I don't use my lathe for 40 hours a week and I don't mind going a bit slower and double check my work a bit more frequently than to spend a lot of money on a fancy set of DRO scales.
I bought the following set off ebay: 3 AXIS DIGITAL DISPLAY READOUT DRO FOR MILL LATHE MACHINE AND 3 LINEAR SCALE and have to say that I am very happy with it so far. The manual is crap, but it got me far enough to figure out how to use it.
Once I got the DRO in the mail, I unpacked it and made sure it all worked properly. Then came the fairly lengthy part of installing the scales. For the x-axis I had to actually make a wood patern, use my Aluminum Home Foundry along with the Propane Burner to cast the part, then use the lathe to finish the part.
Installing the y-axis was also a little tricky because I didn't have a lot of space beside the cross slide to mount the scale. I was debating installing it on the left hand side but that would have taken away from the "over the cross slide" capability of my lathe and I didn't want the scale to be too close to the rotating chuck for fear of accidentally damaging it.
The y-axis was probably the easiest but I did require a custom cast ring around my round mill head column so I could mount the scale in a way that would allow it to rotate out of the way when I wasn't using the mill head.
All in all it was a fun project that wasn't too hard and all the custom parts could have been made out of bought stock aluminum so a home foundry wasn't even necessary but it did help keep the cost down.
Update:
Someone inquired about the dimensions of the glass scales I ordered so I thought I'd include them in my post. They are as follows:
Someone inquired about the dimensions of the glass scales I ordered so I thought I'd include them in my post. They are as follows:
X: 31"
Y: 12.5"
Z: 20"
Videos:
Pictures:
 |
| The picture of the DRO from ebay |
 |
| The picture of the glass scale and reader from ebay |
 |
| Another picture from ebay |
 |
| And another one |
 |
| The custom bracket drawn up in FreeCAD |
 |
| The parcel arrived! |
 |
| Unpacking the DRO |
 |
| What a beautiful sight |
 |
| Tapping the first hole into my lathe to install the x-axis scale |
 |
| A view of the lathe with the x-axis |
 |
| Testing the x-axis for levelness |
 |
| Testing various scenarios on how to mount the reader to the carriage |
 |
| The DRO display |
 |
| A custom bracket I bent up to test, but it was too flimsy so I had to go the heavy-duty cast aluminum route |
 |
| Tilting the lathe so I could get to the underside |
 |
| The dimensions of the custom bracket to mount the x-axis reader to the carriage |
 |
| The dimensions, 3D diagram and mold pattern |
 |
| My son adding some lego to my aluminum cast |
 |
| And a toy from McDonalds |
 |
| A 17 pound ingot of aluminum I bought at an auction is now getting melted up. The crystalized grain structure is fascinatingly beautiful |
 |
| A little piece of aluminum I broke off the ingot |
 |
| Another view |
 |
| Machining the custom x-axis bracket |
 |
| Another view of the custom x-axis bracket |
 |
| Holding the x-axis bracket in place for testing |
 |
| Tapping the custom bracket for the x-axis |
 |
| Tapping the carriage apron |
 |
| Milling the recesses for the cap screw heads |
 |
| The installed custom bracket with the angle bracket holding the reader head |
 |
| Side view of the custom bracket |
 |
| View of the installed custom x-axis bracket from underneath |
 |
| The x-axis glass scale done |
 |
| Fitting the reader head cable into a fairly rigid "flexible" electrical conduit |
 |
| The DRO x-axis cable management installed |
 |
| I screwed the end of the electrical conduit into the lathe stand so it wouldn't get caught while working the carriage back and forth |
 |
| View from the end of the lathe |
 |
| Close-up of the installed cable management for the DRO x-axis |
 |
| Getting ready to install |
 |
| Drilling the cross slide for the rear bracket to hold the DRO y-axis |
 |
| The other side of the cross slide |
 |
| Cutting up another custom bracket to hold the DRO y-axis reader head |
 |
| Drilling and tapping yet another hole into the carriage |
 |
| The installed bracket to hold the DRO y-axis reader head |
 |
| Testing the DRO y-axis glass scale for levelness |
 |
| The rough cast of the round bracket for the DRO z-axis |
 |
| Machining it down to size |
 |
| The finished bottom bracket for the z-axis |
 |
| Another view |
 |
| Measuring the center of the bottom bracket |
 |
| Machining off one side to be able to attach the DRO z-axis glass scale |
 |
| Getting ready to mill a gap to read the mill head angle indicator |
 |
| One angle done |
 |
| Another view from a little further away |
 |
| The second angle done |
 |
| The finished bottom bracket for the DRO z-axis glass scale |
 |
| Machining an extension for the bottom bracket |
 |
| Bolting the extension to the z-axis bottom bracket |
 |
| The finished bottom bracket |
 |
| Another view |
 |
| The bottom bracket installed on the mill column |
 |
| The view port that shows the angle indicator marks on the mill column |
 |
| I ended up having to mill the extension down a bit more |
 |
| Milling a slot into the top bracket of the DRO z-axis |
 |
| Testing for levelness of the DRO z-axis |
 |
| The installed z-axis |
 |
| Close-up of the top bracket |
 |
| Close-up of the bottom bracket |
 |
| Another view of the top bracket |
 |
| Cutting the slots into the bracket holding the z-axis reader |
 |
| The finished bracket |
 |
| Tapping holes to hold the bracket to the mill head |
 |
| The z-axis installed |
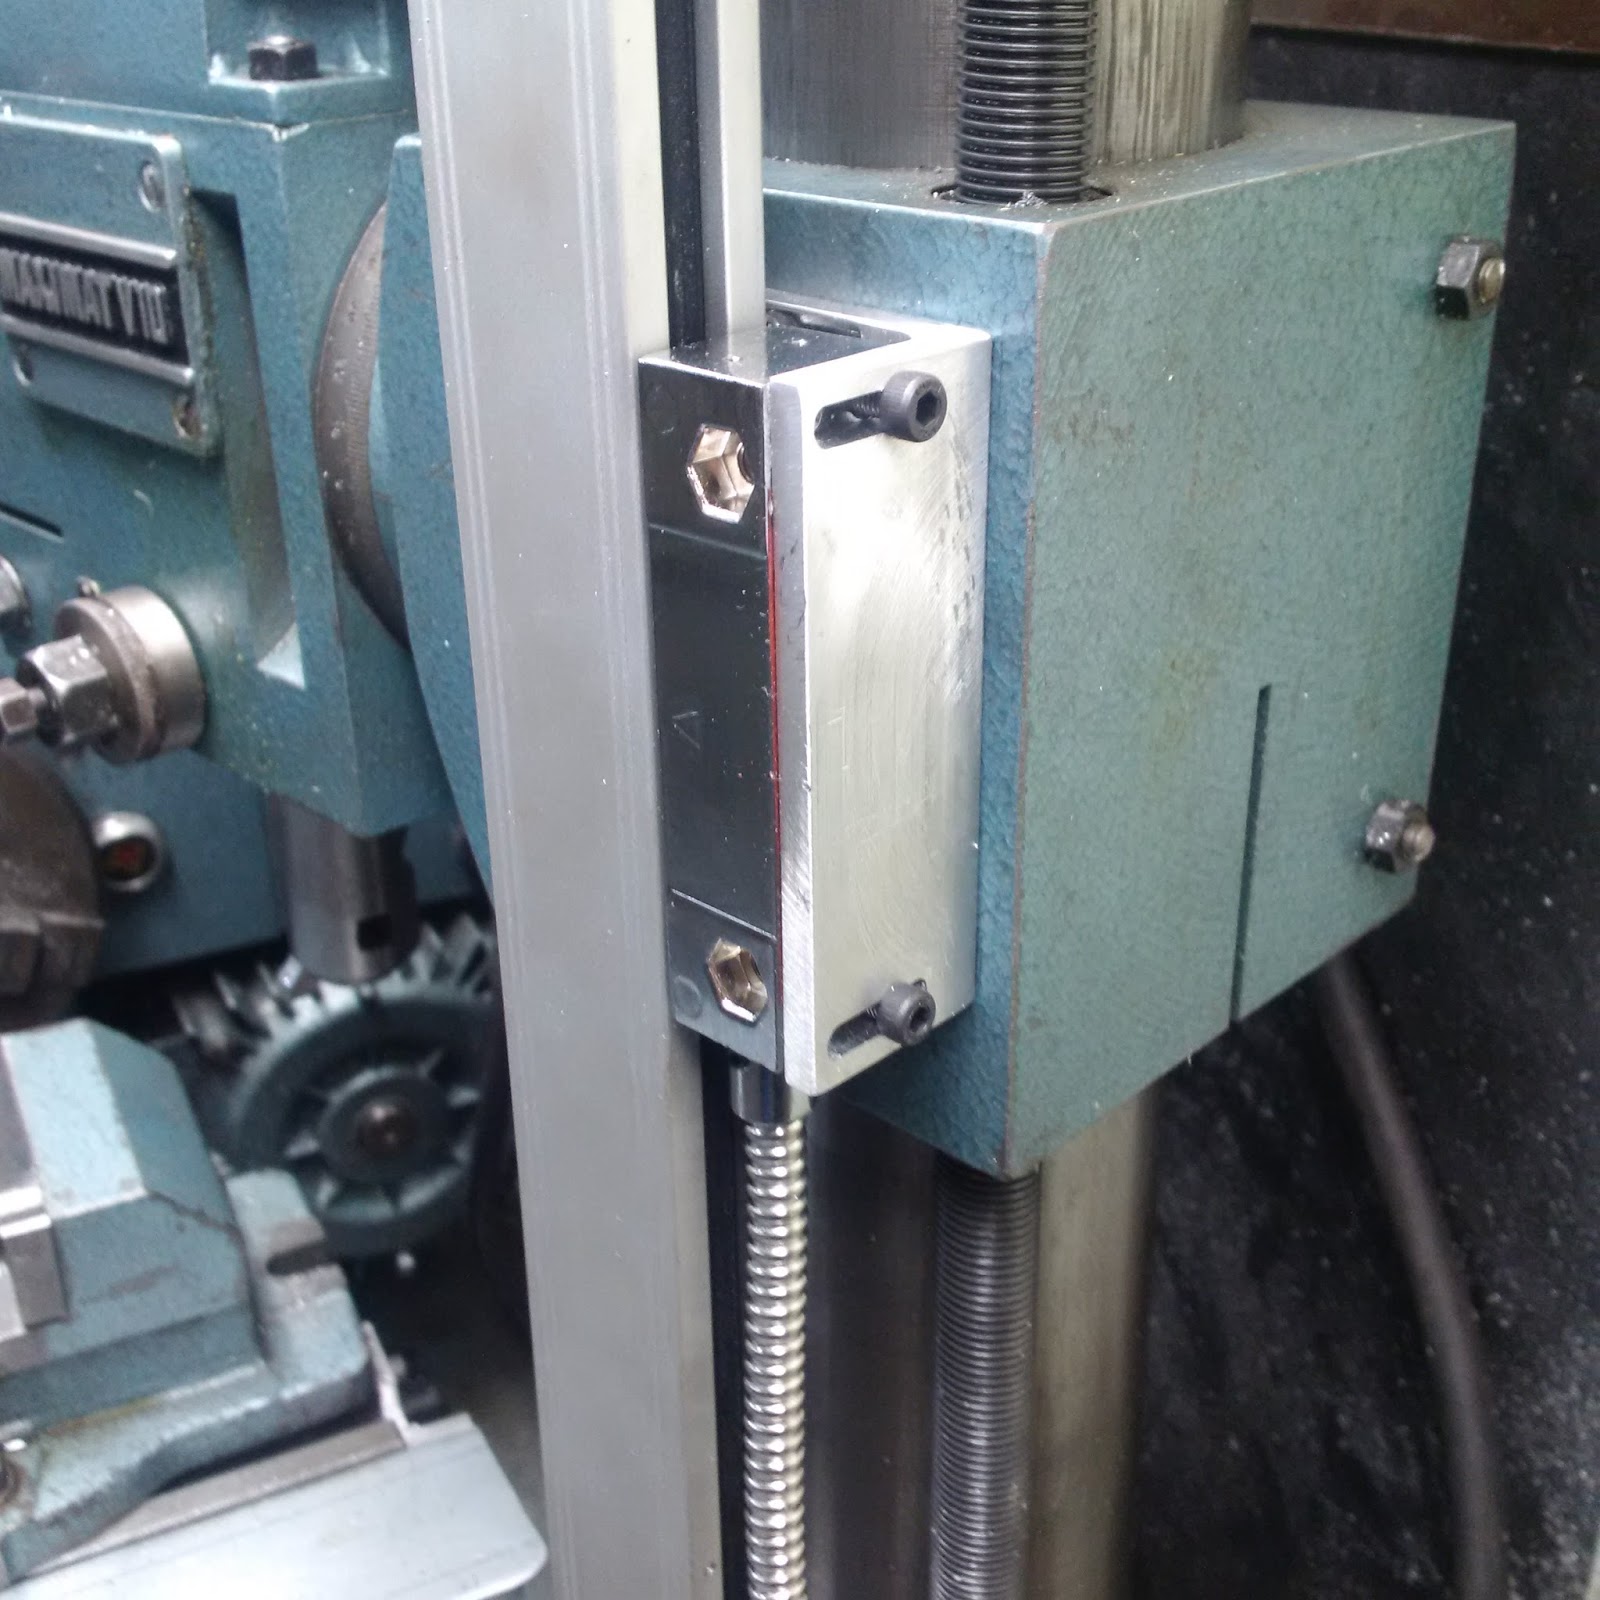 |
| Close-up of the bracket holding the reader head |
 |
| Another view |
Metal band saw
Drill & drill bits
Tap & die set
Hammer
Measuring tape
Ear & eye protection
Metal lathe & accessories
Materials:
DRO kit
12" of 3" x 3" x 1/4" aluminum angle
Cost:
$500.00
Time:
25 hrs
Conclusion:
I love it. It makes working on the lathe so much easier


