Easy
Process:
While I was Converting my Manual Gare Kiln to PID Controller Programmable Kiln i had need of a sheet metal brake. I considered the option of bringing it to a shop and pay them $20 bucks to bend a piece of metal for me but since I've always wanted a sheet metal brake I decided to put in a few hours of my time and $20 bucks in metal to make my own.
There are some ridiculously huge, strong, heavy and expensive metal brakes out there but since I'll probably only need to use it once or a twice a year I decided to build a smaller one that screws right into my welding bench, similarly to my Benchtop Buffer/Polisher that I had built a few years back.
The process was pretty simple. I took a 2.500" wide and 3/8" thick piece of flat steel, cut it on my Metal Band Saw to 36" wide and cut a 45 degree angle on one side. At first I put a cut-off wheel in my table saw and set it at a 45 degree angle but my saw wasn't powerful enough and I didn't want to take any chances of burning out the motor (not like I've done that TWICE before)!
Once I realized the table saw wasn't gonna cut it I took the long road and did it all by hand. first with a 1/16" of an inch thin cut-off blade, then with a more solid grinding wheel (still on the angle grinder). That took me about an hour or so.
Afterwards, I drilled two holes through the metal piece as well as the welding table and tapped the holes in the welding table for a 1/2" by 13 TPI bolt.
Next, I welded a 3ft. long piece of 1.500" by 1/4" angle iron on top of it to strengthen it. Then, I used my fixed Emco Maximat V10 Metal Lathe with its Milling Attachment to make 4 pivot pieces. Each is 2" long by 5/8" thick.
After welding those 4 pieces to another, 4" longer, piece of 2.500" by 3/8" flat steel with my MIG welder and MIG Welder Cart I made 2 bushings that would fit the protruding pivot points.
All I had to do now was tack-weld the bending piece to the welding table, then slip the bushings over the protruding pivot points, and weld the bushings to a piece of 1/2" by 1" wide and about 4" long flat bar on each side.
I skipped welding handles on the brake and instead used a large adjustable wrench. Again, I'm not planning on using it a lot, but it served its purpose in making a new case for the kiln and it packs up nice and tight into a small bundle for easy storage.
Pictures:
 |
| Cutting the 2.500" by 3/8" flat bar |
 |
| Setting the table saw at 45 degrees with a metal cut off blade didn't end up working out |
 |
| The metal cut and ground to 45 degrees |
 |
| A close-up view |
 |
| Tapping a 1/2" by 13 TPI thread into the welding table |
 |
| Fitting the angle iron on top of the flat bar |
 |
| The pivot points after they were turned and milled to size |
 |
| Another view |
 |
| Close-up of the pivot points |
 |
| After the angle iron was welded to the flat bar |
 |
| Tack welding the pivot points to the flat bar that does the bending |
 |
| Turning and drilling the bushings for the pivot points |
 |
| The bushing slipped onto the pivot point |
 |
| In position, ready to weld to the smaller flat bars of steel |
 |
| Another view |
 |
| Another view |
 |
| Welding the bushings to the pieces of flat bar that would screw into the table to hold the bushings in place |
 |
| Doing some test bends with 20 gauge sheet metal, about 16" wide |
 |
| Another view |
 |
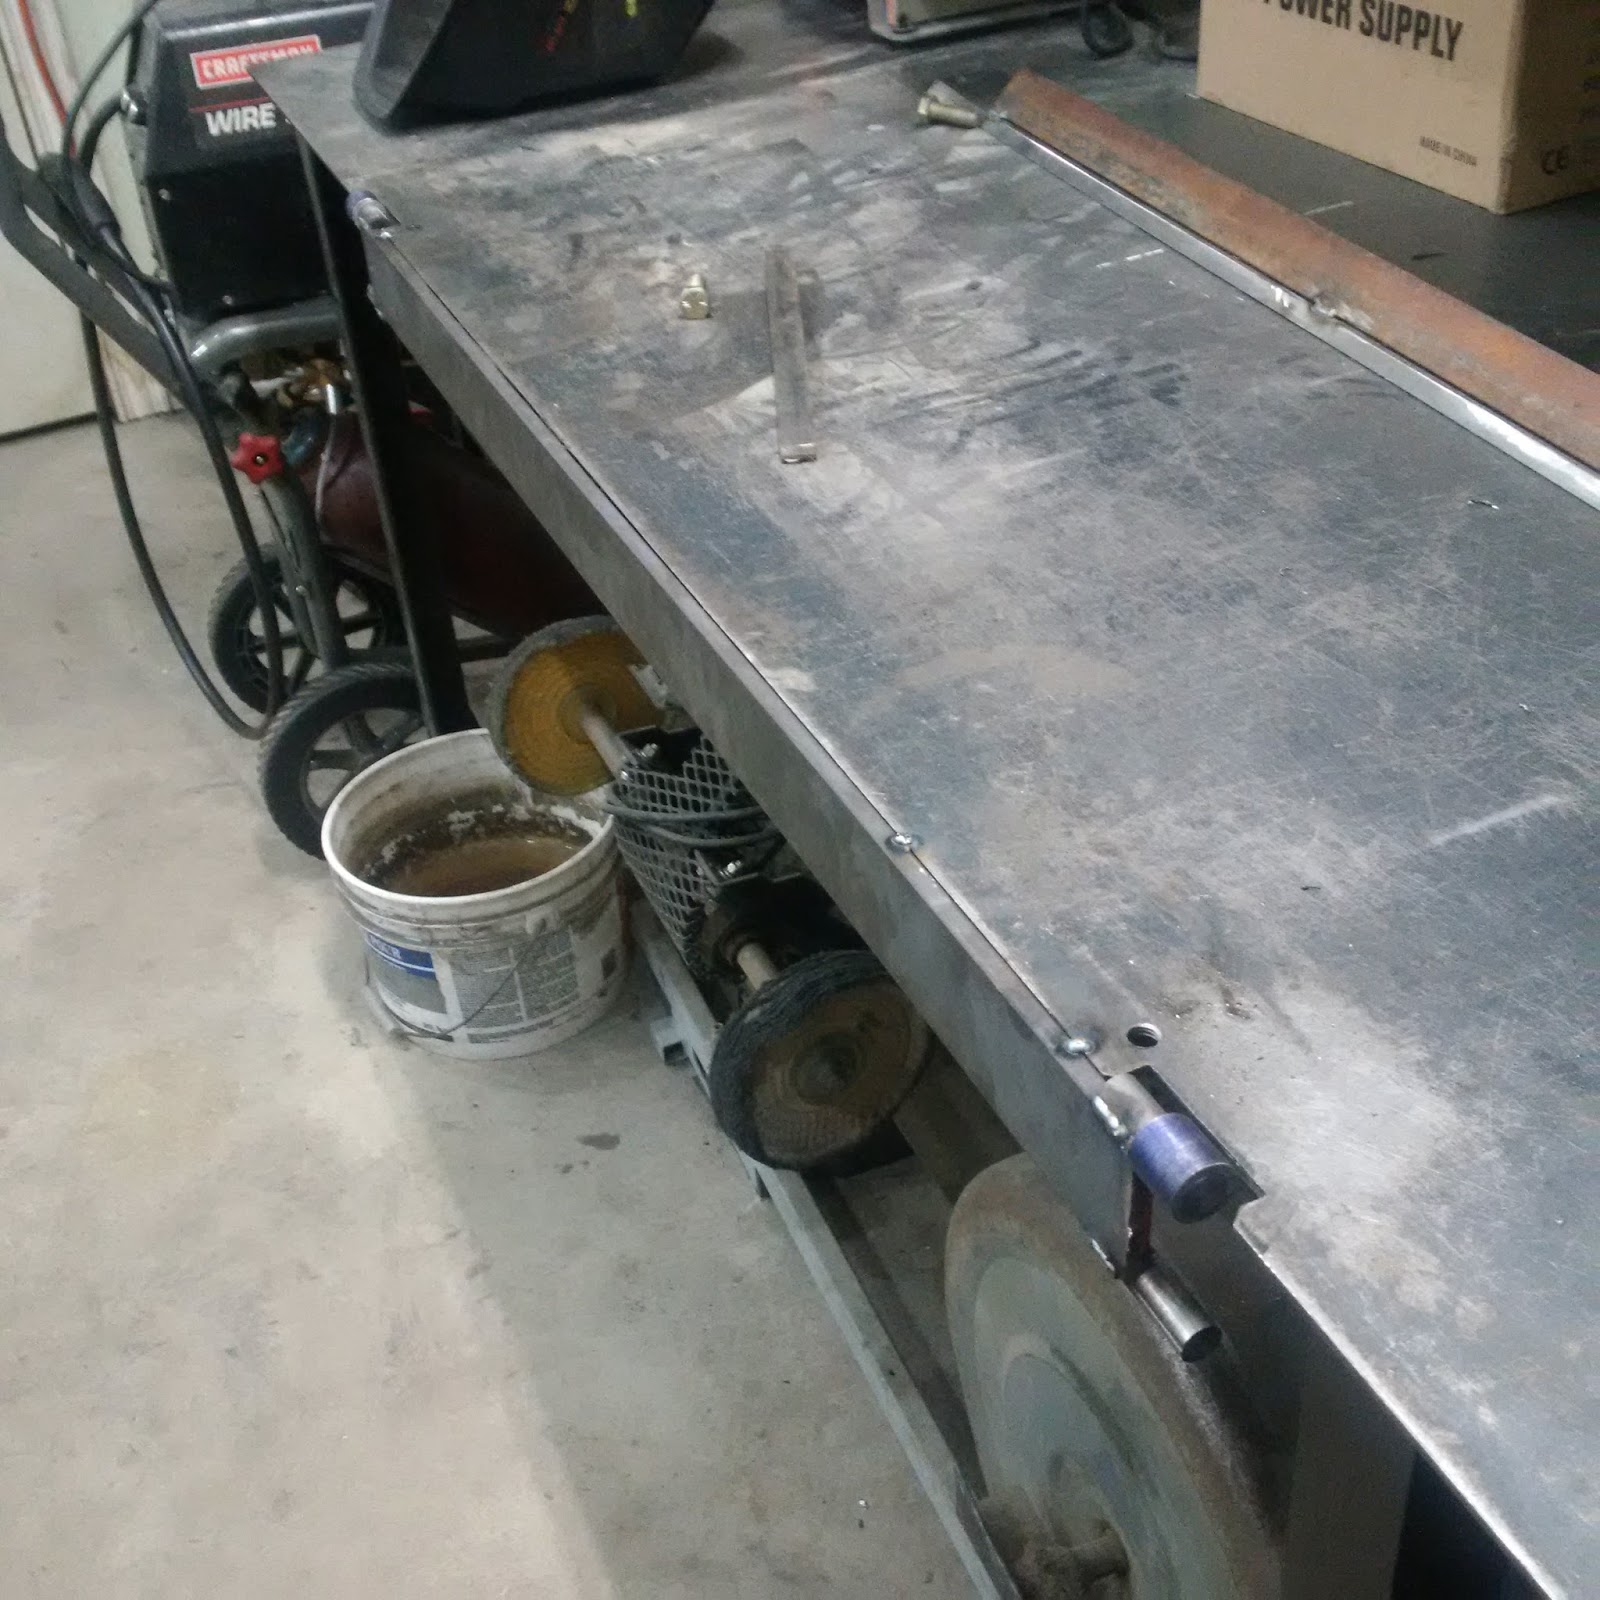
| Getting ready to bend the pice of sheet metal for the kiln |
 |
| Another view |
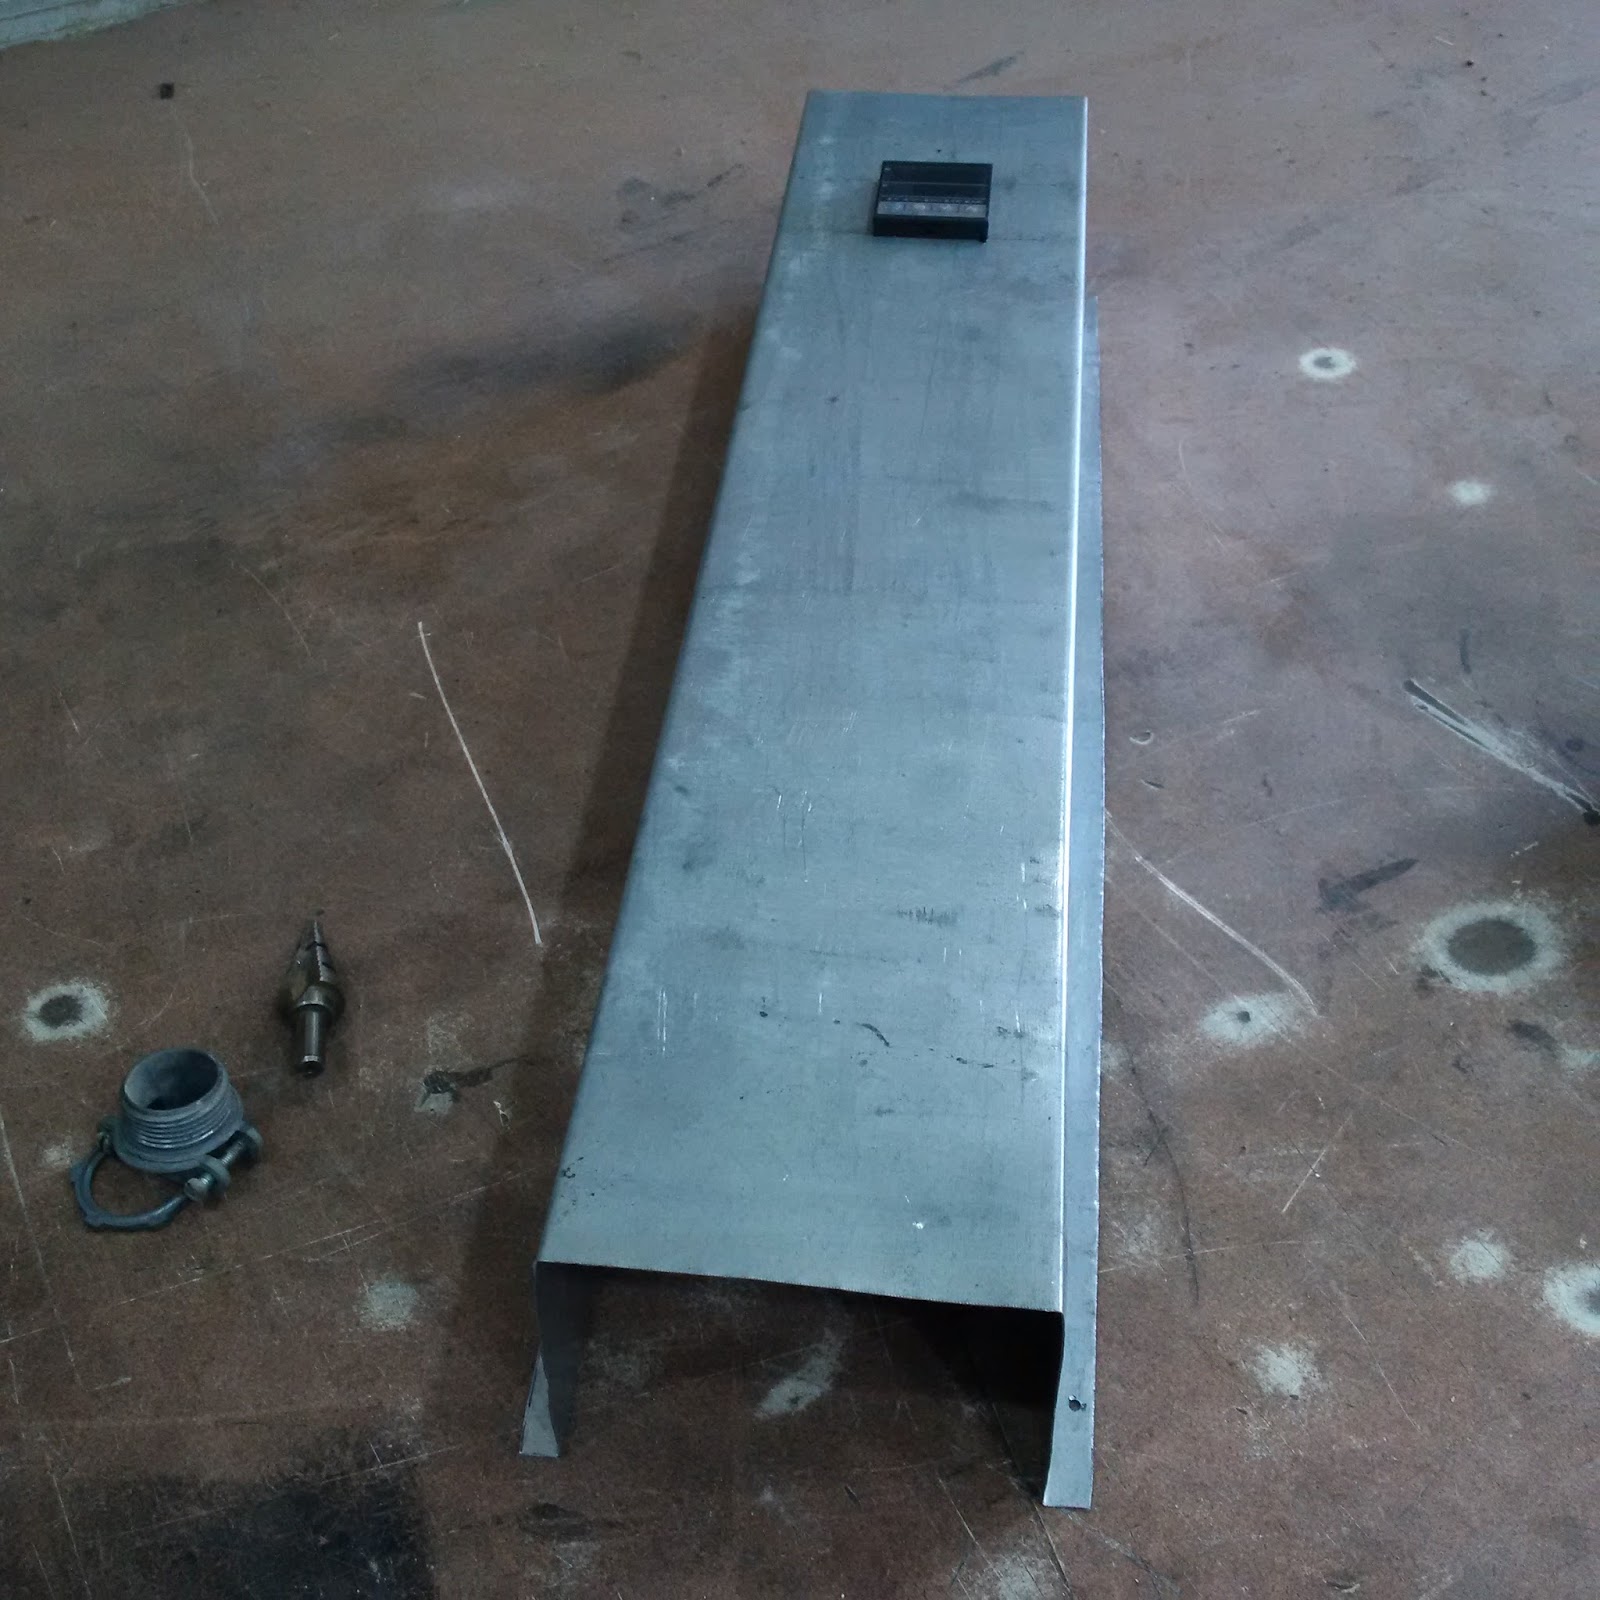 |
| The final shape |
 |
| View from the back |
 |
| Another view |
 |
| Bending the air vents at the top and bottom of the piece I had just bent for the kiln |
 |
| The front view |
 |
| Another view |
 |
| The vents installed |
 |
| Close-up of the vents |
 |
| The packed up metal brake ready to hit the storage shelf |
Angle grinder
Metal band saw
Lathe & accessories
Drill press
Drill
Measuring tape
Markers
Square
Digital calipers
MIG welder
Eye & ear protection
Bench top vise
Socket set
C-clamps
Materials:
7 feet of 2.500" by 3/8" flat iron - $15.00
4 feet of 1.500" angle iron - scrap pile
4 feet of 1.500" square tubing - scrap pile
1 foot of 1" diameter round stock - scrap pile
1 foot of 1" by 1/2" flat bar - scrap pile
Cost:
$15.00
Time:
4 hrs
Savings:
$300
Conclusion:
It works really well and I'm glad to have one more tool in my repertoire of tools

3 comments:
How did you bevel the edge as accurately as you did with the angle grinder? Did you use a guide/jig or just freehand it?
I think I just took my time with the angle grinder
Post a Comment