Easy
Process:
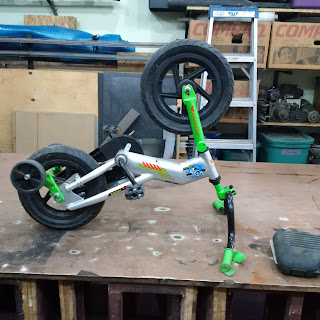
My daughter's bike had been flat for some time and I finally got around to have a look at it.
After taking the tire off and inflating the inner tube I quickly located the leak close by the valve stem. I hauled out my bike tire fixing kit, roughed up the surface and stuck one of those patches on it. I wasn't quite sure if it was gonna work because I grew up using the good-ol glue and rubber patch and as I expected, after I put everything back together it was still leaking.
So I took off the tire once more and used the "real" stuff, scruffed up the inner tube, slathered on some high-VOC glue (the good stuff) and put on a rubber patch.
After putting it all back together, blowing up the tire and testing for leaks it was fixed. Now, I have to say, right after I put the tire back together and tested for leaks with a soap-and-water solution it was still giving me some bubbles but I figured it was just some air that was trapped between the tire and the inner tube. A few days later I checked the tire and it was still holding the air so I knew I was good to go. Now she's able to happily drive around again!
Pictures:
 |
| The bike before I took off the tire |
 |
| Using a $15 bike repair kit, I removed the tire from the rim |
 |
| Close-up of the bike repair kit |
 |
| locating the leak in the inner tube |
 |
| The bubbles mark the spot |
 |
| Circling the leak |
 |
| Putting on the rubber patch (2nd try) |
 |
| Another view |
 |
| The second kit I used |
 |
| Escaping air that was trapped between the tire and the inner tube |
 |
| Another view |
 |
| Close-up of the tire size |
Bike repair kit
Adjustable wrench
Materials:
Bike repair kit
Cost:
$0.00
Time:
1hr
Savings:
$25.00
Conclusion:
Air is still holding after a few weeks

0 comments:
Post a Comment