Refurbishing my 8" Jobmate drill press
Difficulty Level (Easy, Medium, Hard, Insane):
Easy
Process:
I bought this drill press at an auction for $15 bucks last fall and I figured that if I sand blasted it and gave it a nice coat of paint it would probably sell for 50 or 60 bucks. Since it's been standing around in my shop for too many months months, I wanted to get it done. I had the DIY Sand Blasting Cabinet all set up for my Metal Band Saw refurbishing project (blog to come) so it was now or never.
Taking it apart took about 15 minutes, sand blasting took another 30. The vertical column was pretty corroded so after sand blasting it I put it in my lathe and used some emery cloth to shine it up really nice. The painting only took about 15 minutes and after the paint was all dry, I put it back together and have to say that I am amazed how much of a difference some paint can make. See for yourself.
Pictures:
 |
| The rusted drill press the way I bought it |
 |
| Another view |
 |
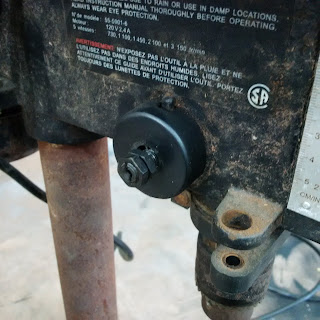
| Close-up of the depth stop |
 |
| After the depth stop was removed |
 |
| Close up of the rust |
 |
| Masking off the decals |
 |
| Masking off the spindle and other sensitive parts |
 |
| Some of the smaller parts |
 |
| After sand blasting |
 |
| Close up of sand blasted parts |
 |
| Painted base |
 |
| Painted work table |
 |
| After it was put together |
 |
| Another view |
 |
| Inside the speed change box |
 |
| Front view |
 |
| Close-up of the depth stop |
DIY Sand Blasting Cabinet
Lathe and accessories (for cleaning up the vertical column)
Wrenches
Alan key
Pulley extractor
Screwdriver
Needle nose pliers
Materials:
1/2 can of black gloss metal paint
Cost:
$5.00
Time:
2 hrs
Earnings:
$40.00
Conclusion:
Looks really nice. Maybe I should keep it for myself...

0 comments:
Post a Comment