Project:
Installing a railing and some balusters for my neighbor
Difficulty Level (Easy, Medium, Hard, Insane):
Medium
Process:
I needed to get some artwork done for my business (www.swissqualitygroup.com) and my neighbor just happened to be a graphic artist. She also needed some work done in her basement to prepare her house to sell so we agreed to do a time-for-time trade.
She came up with an incredible logo, letterhead, business card and I in return installed her basement stair railing and some balusters.
Pictures:
Custom-made edges for the stair treads so they would have equal overhang
Custom fitting the MDF along the wall under the treads
Gluing solid wood under the bottom tread where the main post would screw into so that it had solid hold
The (approximately) 6" x 6" x 6" piece of solid glued and screwed wood made up of three 2x4s
The tread "extensions" installed
Drilling and screwing in the support anchor for the main post
After the main post was installed
Dry-fitting the balusters
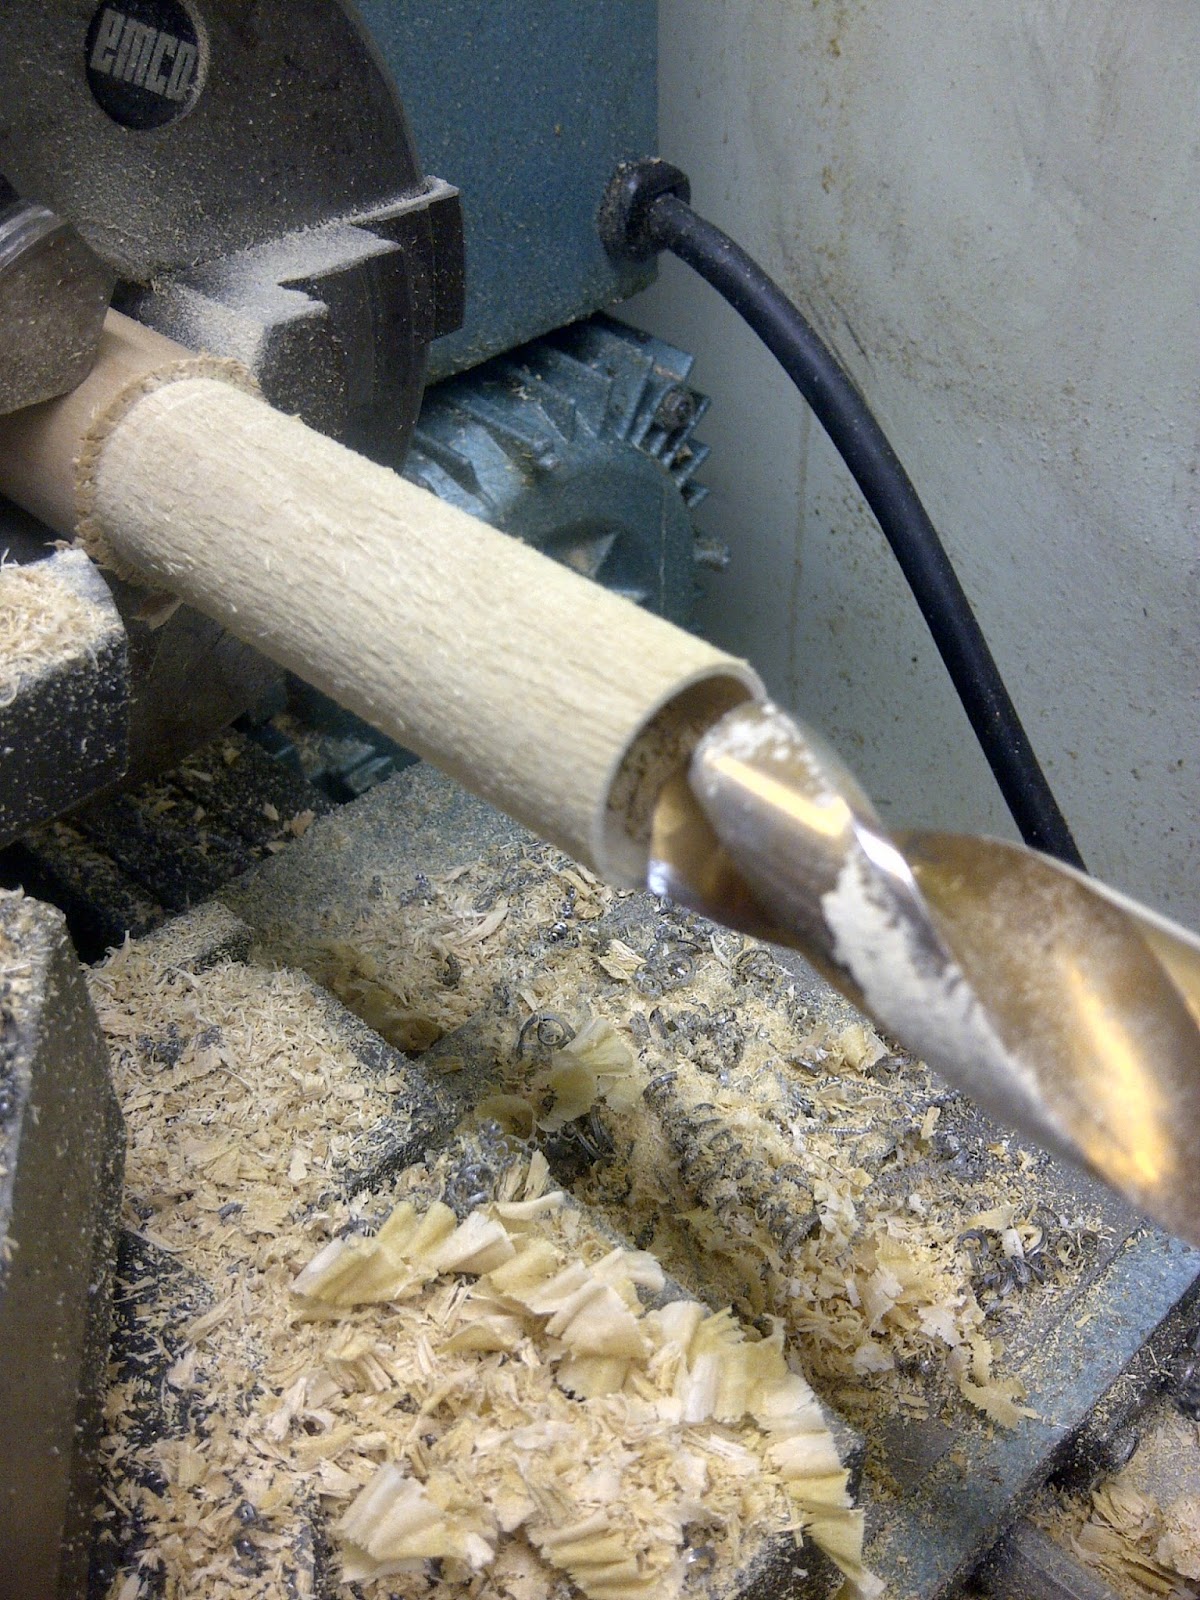
I accidentally drilled the hole too big so I made a custom "woo bushing" on the lathe and glued it into the too-big hole
Close-up of the "wood bushing" glued into place
Gluing the railing
Close-up of the clamps holding down the railing as the two pieces are being glued together
View from the top of the installed railing
Bottom of the railing, post and balusters
Another view
Yet another view
Close-up of the glued (not yet stained) railing
Another view
The additional support underneath the railing to hold the balusters in place
Another view
The logo she made for my business
The business card she made for me
Tools:
Measuring tape
Pencil
Marker
Mitre saw
Table saw
Drill
Drill bits
Level
Square
Lathe
Socket wrench set
Screwdriver
Hammer
Crow bar
Clamps
Belt sander
Materials:
Railing
Balusters
5/8" MDF
Screws
Glue
Some white oak
Time:
13hr
Savings:
Probably close to $500 bucks
Conclusion:
I'm very pleased with her work and how the stairs turned out
Project:
Fixing the way my milling head is attached to the main column and doing a general clean
Difficulty Level (Easy, Medium, Hard, Insane):
Medium
Process:
I was milling a small aluminum part, the sector head, for my Dividing Head when all of a sudden the entire milling head fell off and crashed onto the lathe ways. Instinct took over and turned off the mill and then I just stood there in awe of what just happened.
The way the Emco Milling head is designed is so that the milling head can rotate 360 degrees around a protruding metal piece (not sure what you'd call it) with about a quarter inch overhang.
After giving it some thought it was probably a design flaw, maybe even a manufacturing defect but considering that the lathe is over 40 years old (built in Austria in 1973) I'm surprised it hung on for that long (no pun intended).
After assessing the situation I came up with a few ways of fixing it. I ran my idea by the guys on the Emco Larger Lathes Forum on Yahoo and decided that I was gonna try to give the fix a go.
I decided to put the milling head in the 4-jaw chuck, face off the cracked rim, bore out the inside and thread it, then turn a piece of metal stub with an overhanging ridge at the front and a matching thread. Then use loctite to hold it all in place and that should be it.
I was really glad that I had already built the Back Plate for my 4-Jaw Chuck just a few days earlier so all I had to do is put some aluminum flashing between the part and the jaws of the chuck, dial it in and go to it.
The job ended up taking about 10 hours but most of that was because I'm still learning and everything takes a lot longer. It was actually quite a fun project and what I found most exciting is that a catastrophic failure like that would have meant the end of the tool (replacements are in the hundreds of dollars) and now I was able to fix it all for free.
Videos:
Pictures:
Milling the dividing head sector arm at an angle
Another view of what I was doing when the head broke off
The milling head where it landed. Luckily it didn't break anything or hurt anyone
Close-up of the cracked cast
The broken off ring still in the milling head
Another view of the broken off ring
The ring where it was before it broke off
Close-up of the broken milling head. The only place it was still attached (for who knows how long) is in the red oval
The milling head support resting on the lathe
Dimensions of the milling head support
After I faced off the cracked cast and got ready to bore out the inside to 2"
The inside bored out to 2"
I decided to use an 11 TPI internal thread
After the thread was cut
Another view of the cleaned up and threaded milling head support
Getting ready to turn down a 4" chunk of 10V45 (I didn't have any 2-3/4" stock) to 2.675"
Almost there
Doing a scratch pass with 11 TPI male thread
The rough finished part
Locking it in place with permanent (red) loctite
Supporting the head with a dead center so as to give better accessibility and turning it down to final size
Another view from a bit further away
Another angle
Close-up of the rough turned lip
Using a parting tool to finish the part to size and make it 100% concentric
Close-up of the finished job
Another view
Cleaning out the 20-30 year old stuff that was stuck behind the milling head column support bracket
Milling head was made in 1971
Taking the milling head column and cleaning it all up with some sand paper
Another "Before" view of the milling head column
After it was all nice and shiny
Another view of the polished milling head column
All the parts cleaned and shined up
Another view
Close-up of the top of the cleaned milling head column